Manicure W / Color Gel
45 minutes
$25
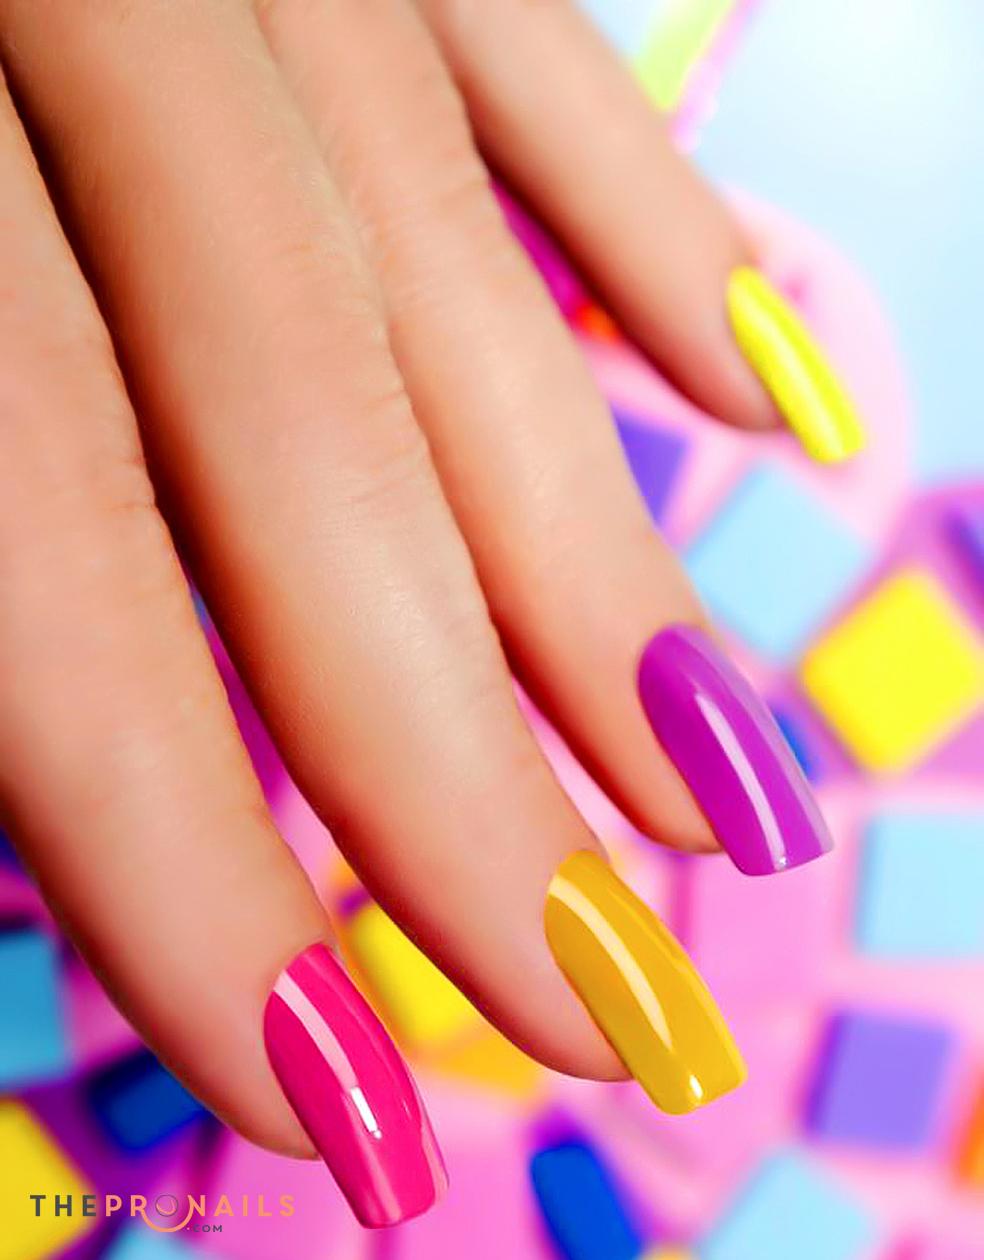
Gel manicures are arguably one of the most exciting beauty innovations of the year – a manicure that lasts for 2 solid weeks without chipping and doesn’t require any dry time seems downright miraculous. The technology is even popping up in do-it-yourself versions – at-home gel mani kits are one of the reasons the nail care sector is having double digit growth. Gel nails may look more natural and glossy than other types of cosmetic nails. The curing time is faster than acrylics and gel nail mixtures lack the fumes associated with acrylic nails – they are considered a safer, more eco-friendly option.
Description
UV Gel are nail polishes that use ultraviolet light to cure the product. Some people advertise nail gel as non-acrylic, which is technically incorrect, but these products do not have the bad smell that traditional acrylic nails do. Once UV Gel is applied and cured to your natural nails, the hardened gel can be designed just as your natural nails would be. UV Gel is used more often than nail varnish because it lasts a lot longer and it is great for applying over false nail tips to secure them in place.
Below are the steps for UV Gel Polish process from our service:
Step 1: Use nail polish remover and a cotton pad to clean your old nail polish.
Step 2: Use an orange wood stick or a metal cuticle pusher to push cuticles back. This stops the UV gel from lifting near your cuticles.
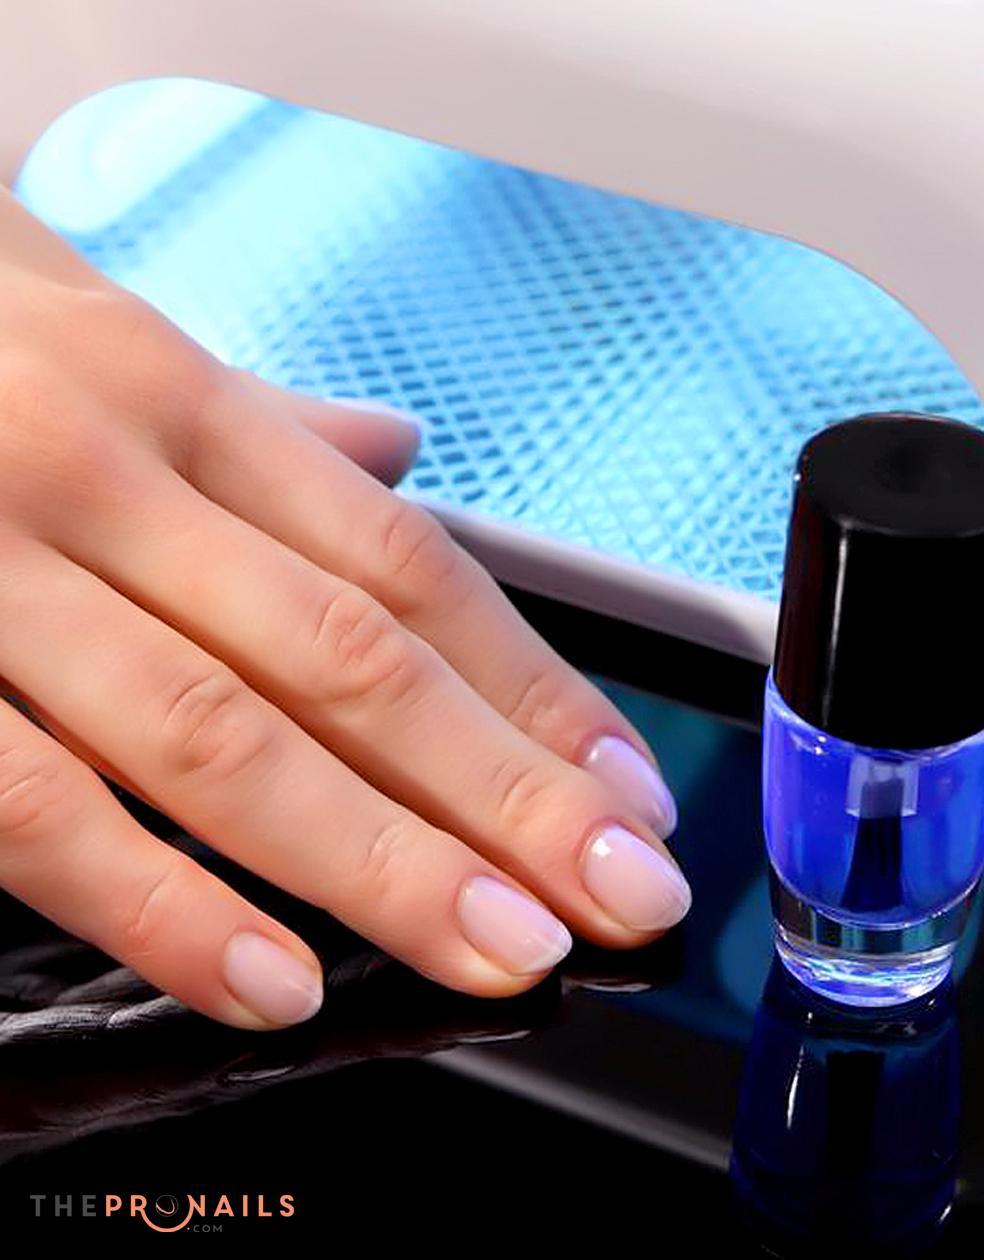
Step 3: Use nail dehydrator, smooth a thin layer of liquid over natural nail plate. It should only take a few seconds to dry.
Step 4: Apply false nail tips.
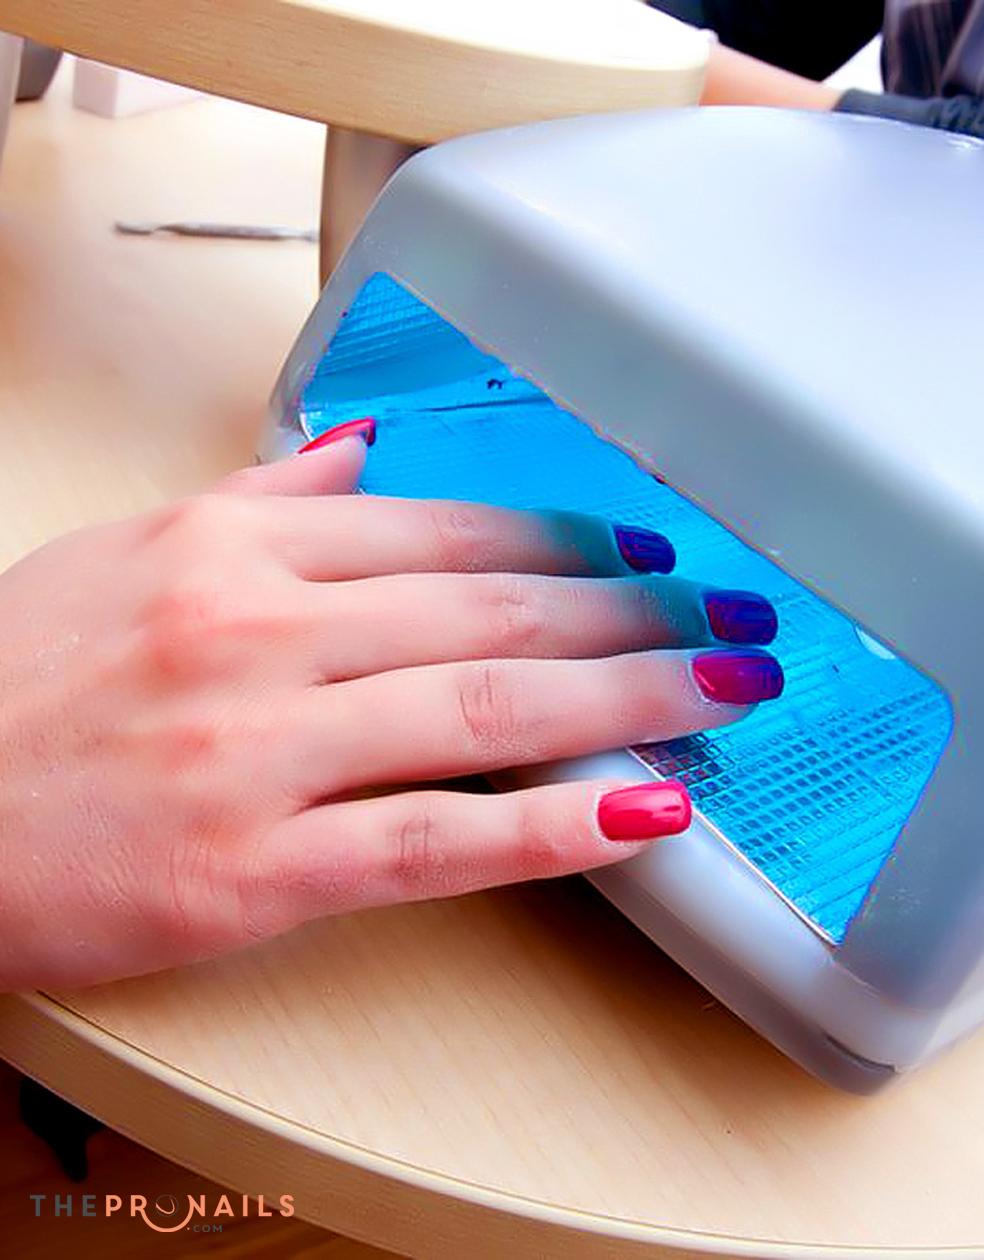
Step 5: Apply UV gel primer. Smooth a thin layer over your natural nails. The primer will help the rest of the manicure adhere to your natural nails. Hold under UV lamp for 2 minutes.
Step 6: Apply UV builder gel. Place the gel in the middle of your nails and gently spread upwards to the end of the tips. When spreading downwards, get it as close to your cuticle area as possible without touching any skin.
Step 7: Use the cotton bud to remove any gels off the skin before placing your hands under the UV lamp.
Step 8: Again hold under the lamp for 2 minutes and triple for a 9 watt UV lamp.
Step 9: Apply UV gel top coat to your nails and let them dry, then finish process.